At the end of my last post in this series, we had added the power module and fan. This post focuses on the top plates and roller holder covering issues 60 – 63 of 3D Create and Print by Eaglemoss Technology. If you’ve skipped a part of this series you can start from the beginning, including details of the Vector 3 printer I’m building on my 3D printer page.
This drop comes with another much needed binder for the magazines, starting to get us back into phase with the right number of binders to loose magazines. With the plate covers we enclose the wires and finally start the process of building the components for the top of the printer.
-

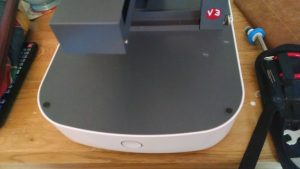
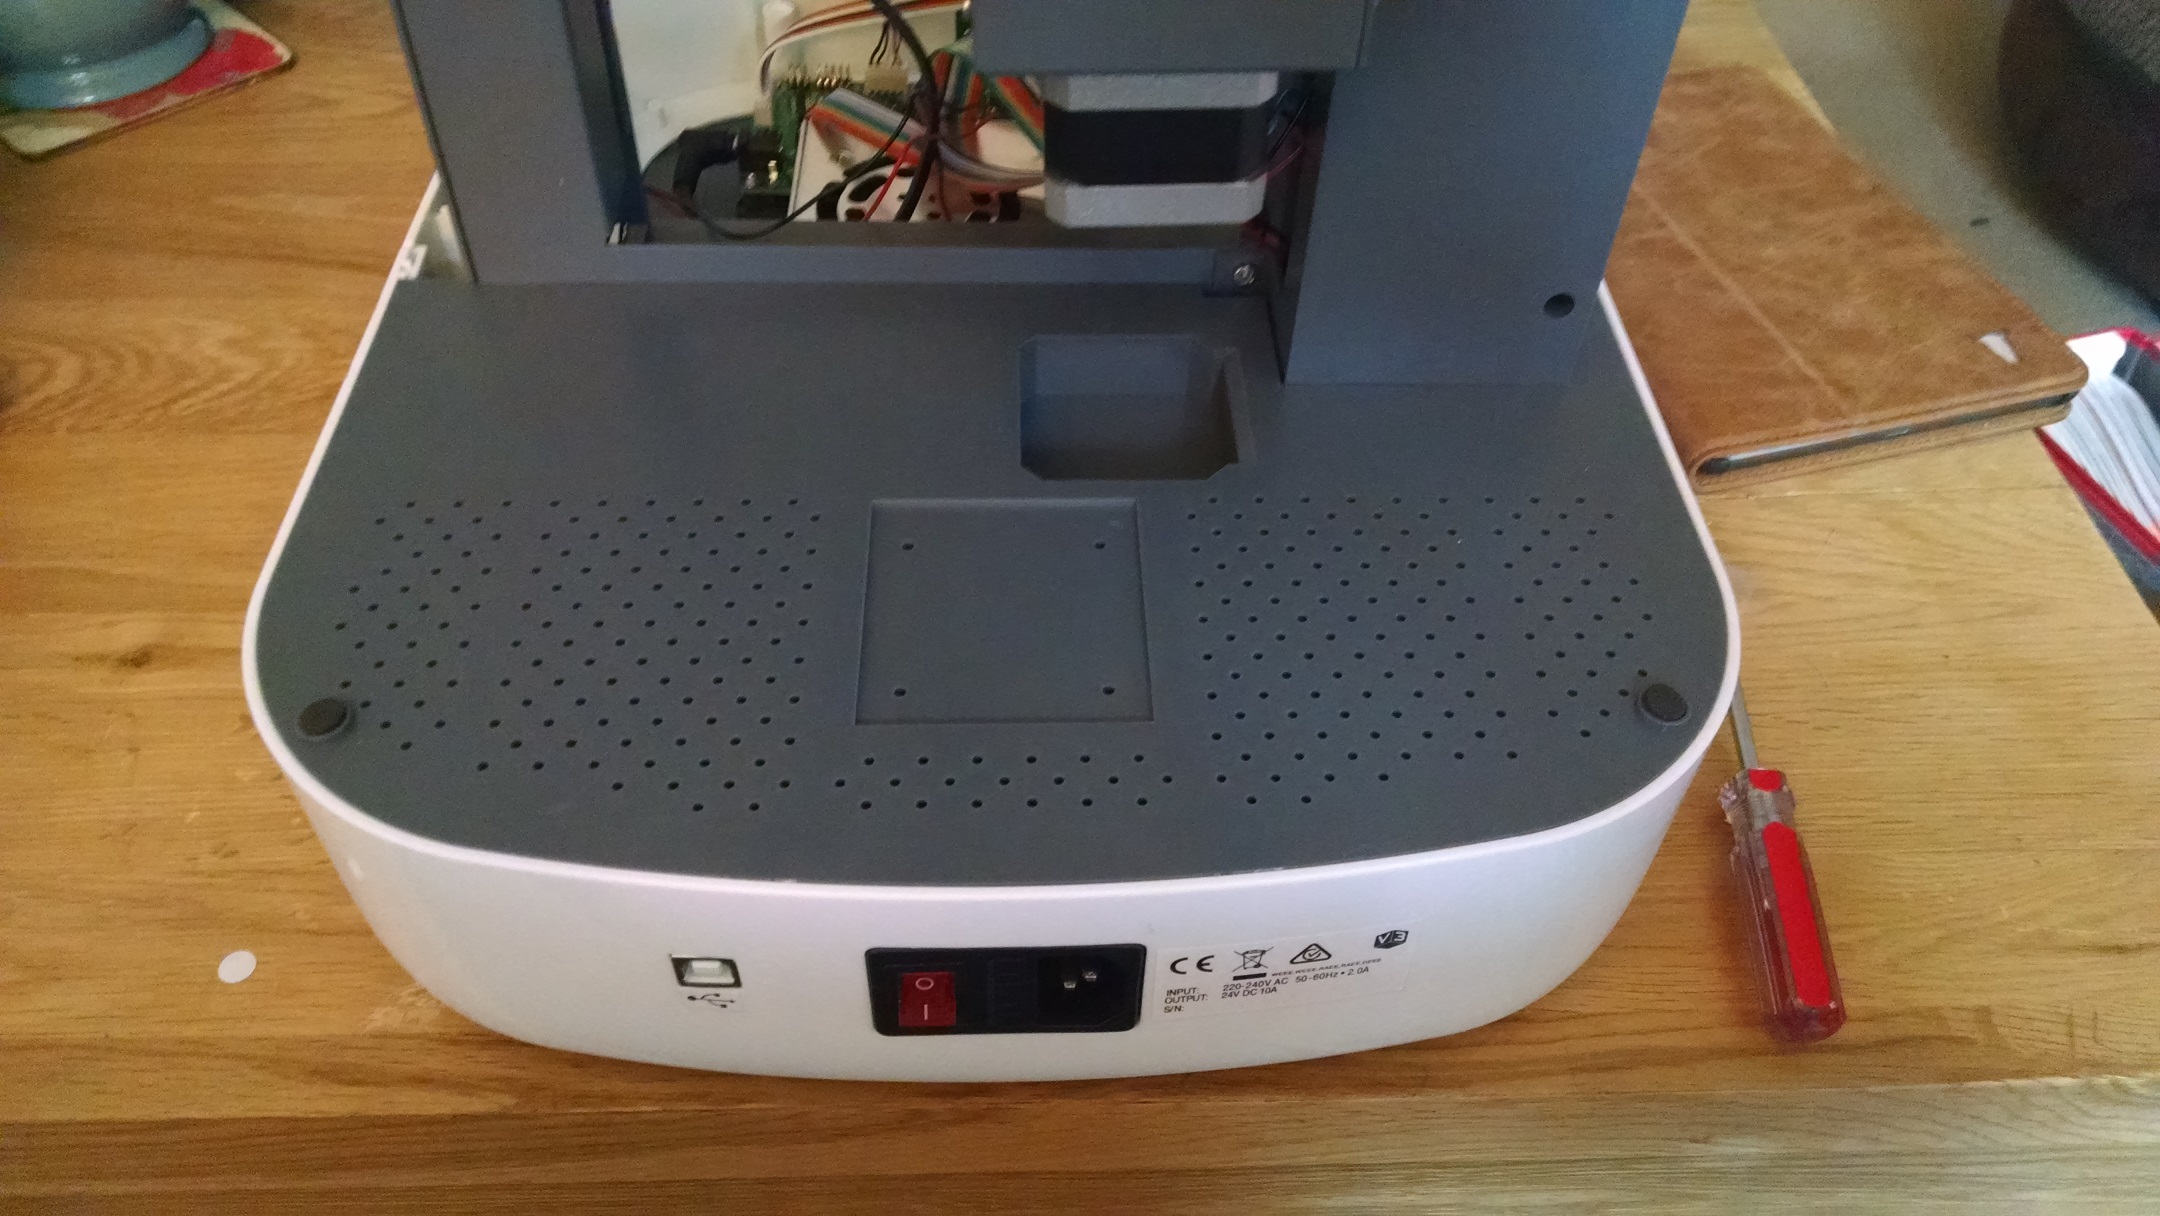
Rear top plate Rear top plate: Issue 60 comes with the rear top plate to enclose the fan, power and USB boards. This is fairly straightforward in that the plate engages cleanly and it’s just a case of using the six screws to secure it from underneath. The whole machine is getting quite heavy now so you may need someone to support this for you if you can’t get it balances appropriately. Once all the screws are tightened, add the two hood buffers to the top.
-

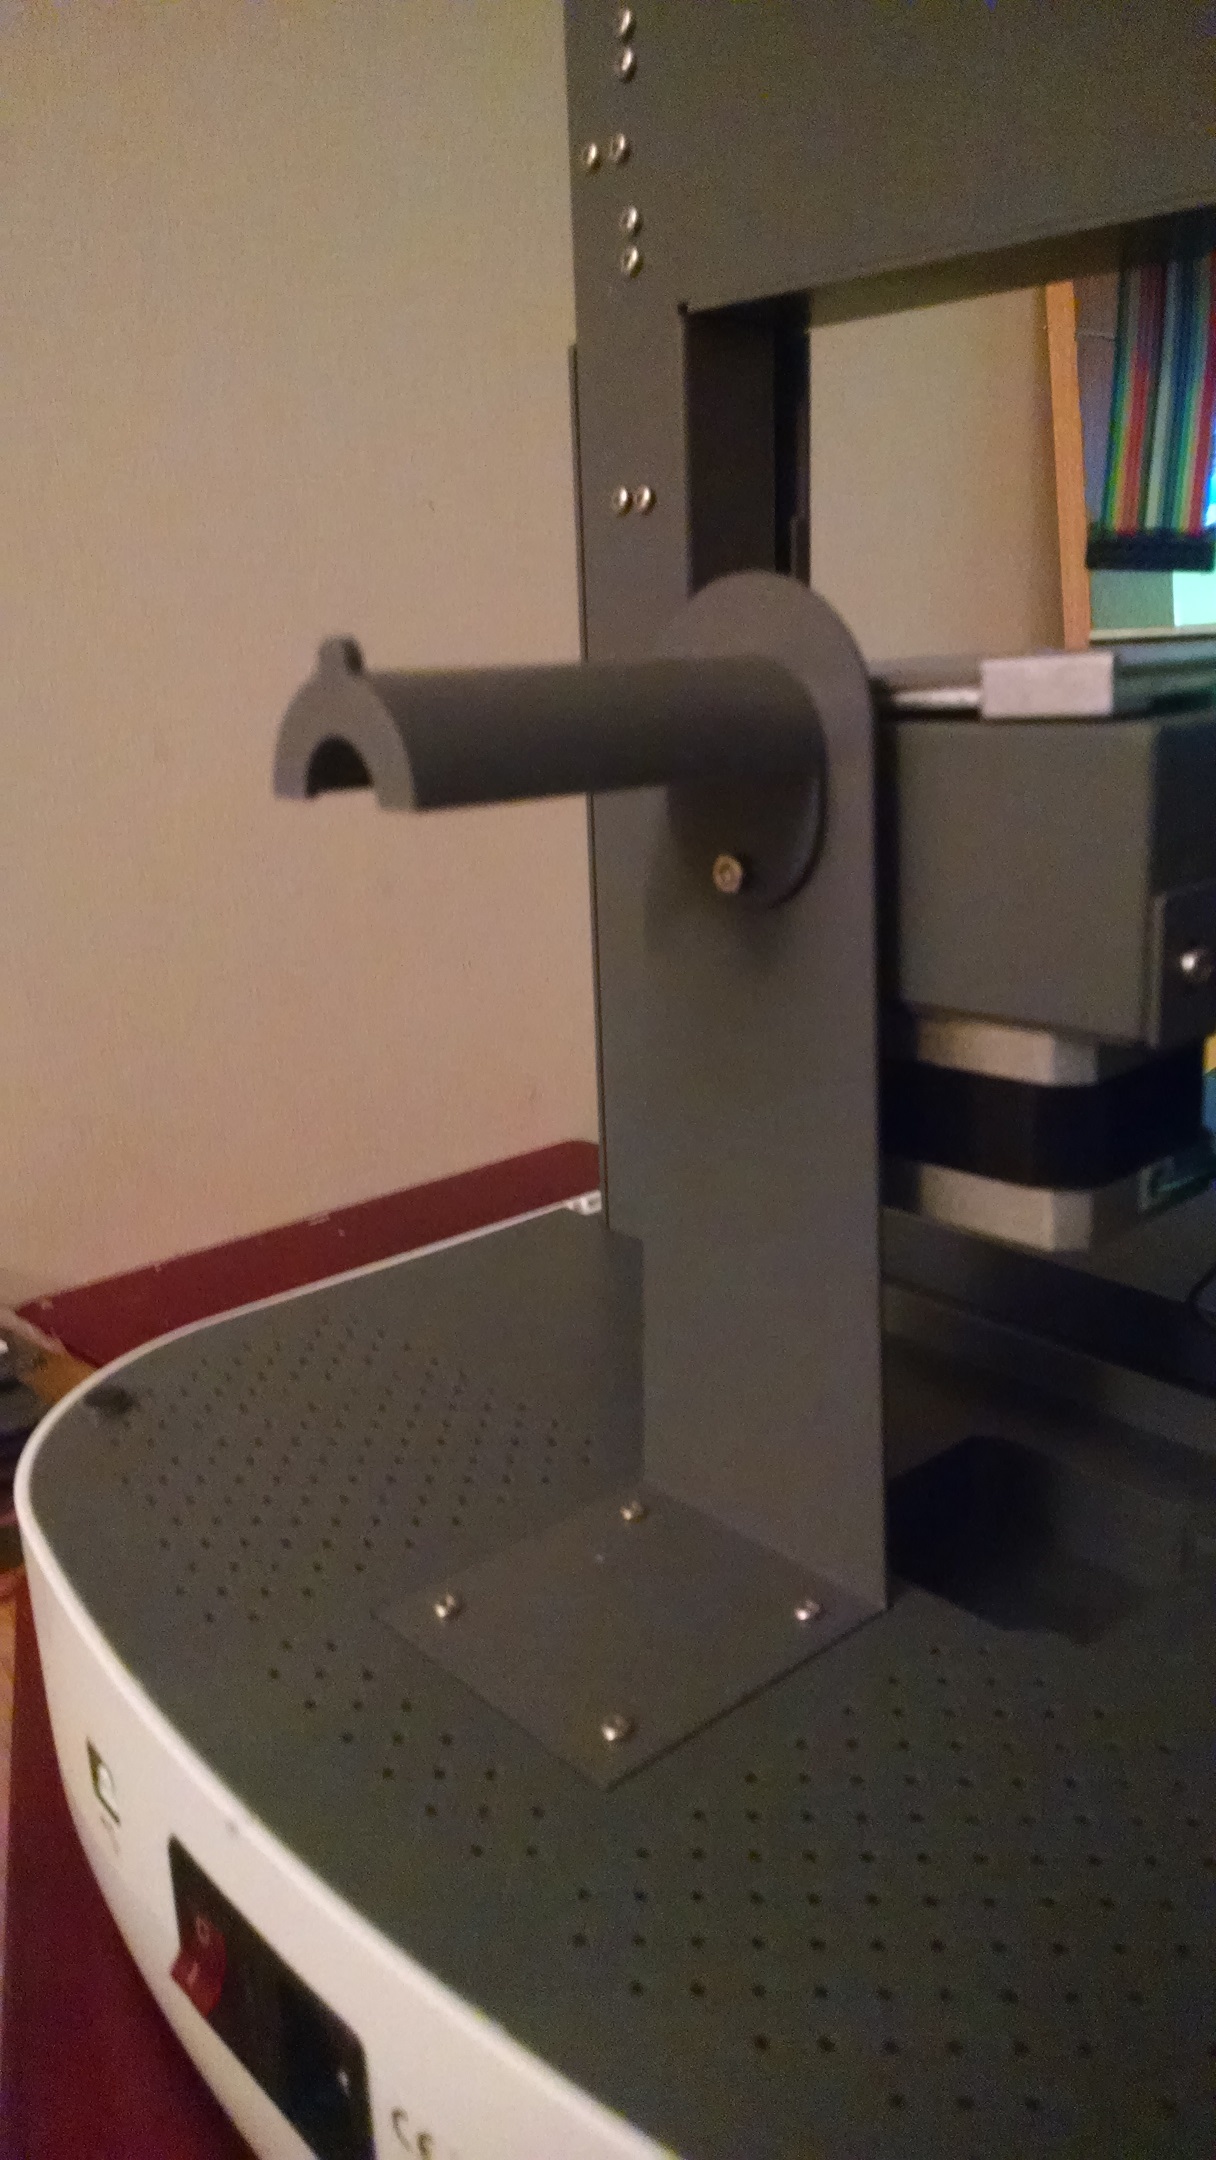
Roller holder attached to rear plate Roller holder: Issues 61 and 62 are needed together to continue the build. 61 provides the roller bracket, with 62 the holder itself. Firstly fix the holder to the bracket – this requires a little dexterity to hold the bolts in place while screwing in the nuts but as this is done away from the main machine it’s easier than it could be. Don’t worry if this takes a bit of time, but do ensure that the bracket is attached the correct way round. Then fix the assembled roller holder and bracket to the rear top plate.
-
Front top plate Front top plate: Issue 63 provide the front top plate and encloses the microcontroller board and all the exposed wires. I anticipate that this is the plate that I would need to remove should I find that the printer doesn’t work and need to diagnose, so I took extra care with these. Again, a little awkward balancing the machine while the plate is affixed. I was disappointed at the two stress marks on the plate that I assume happened in the post, but since it’s not going to impact the function of the printer it’s not worth waiting for a replacement.

So, 4 more parts and the wires are all enclosed and the roller holder is in place ready for the filament. The next part is a power cable, so maybe the next four issues will give me something I can power up?