For the past two weeks I have, like most people, been working from home. Doing fun stuff just for yourself during this time can be incredibly important, and with this in mind I’ve started going through some of the Lego and other building kits I’ve got and just not had time to open. The first of these that I’ve tackled is this years Ideas (fan-designed) Lego set the international space station.
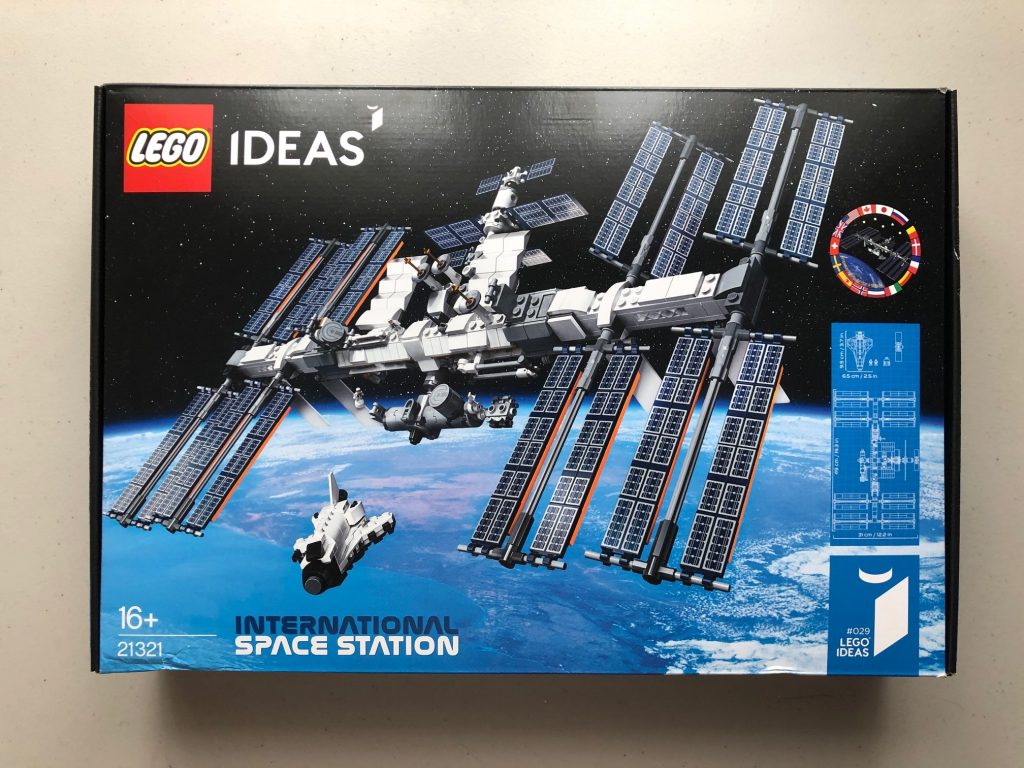
I already have the creator lunar lander set, which I loved. Despite being a display set, the lander had a lot of playability at minifig scale, and a lot of hidden details that put a smile on my face while I was building it1. I had high expectations building the ISS. While a minifig scale ISS would have been prohibitively large and expensive for an ideas set (although I would probably still have bought it2) it is a shame at the loss of detail for microfig scale.
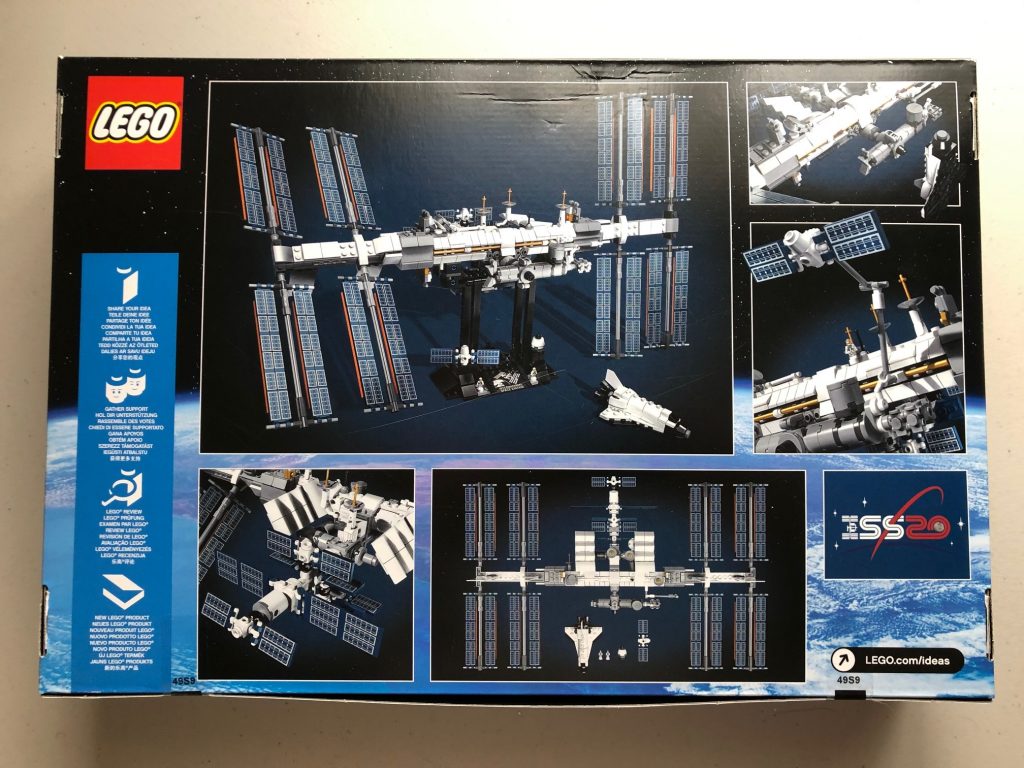
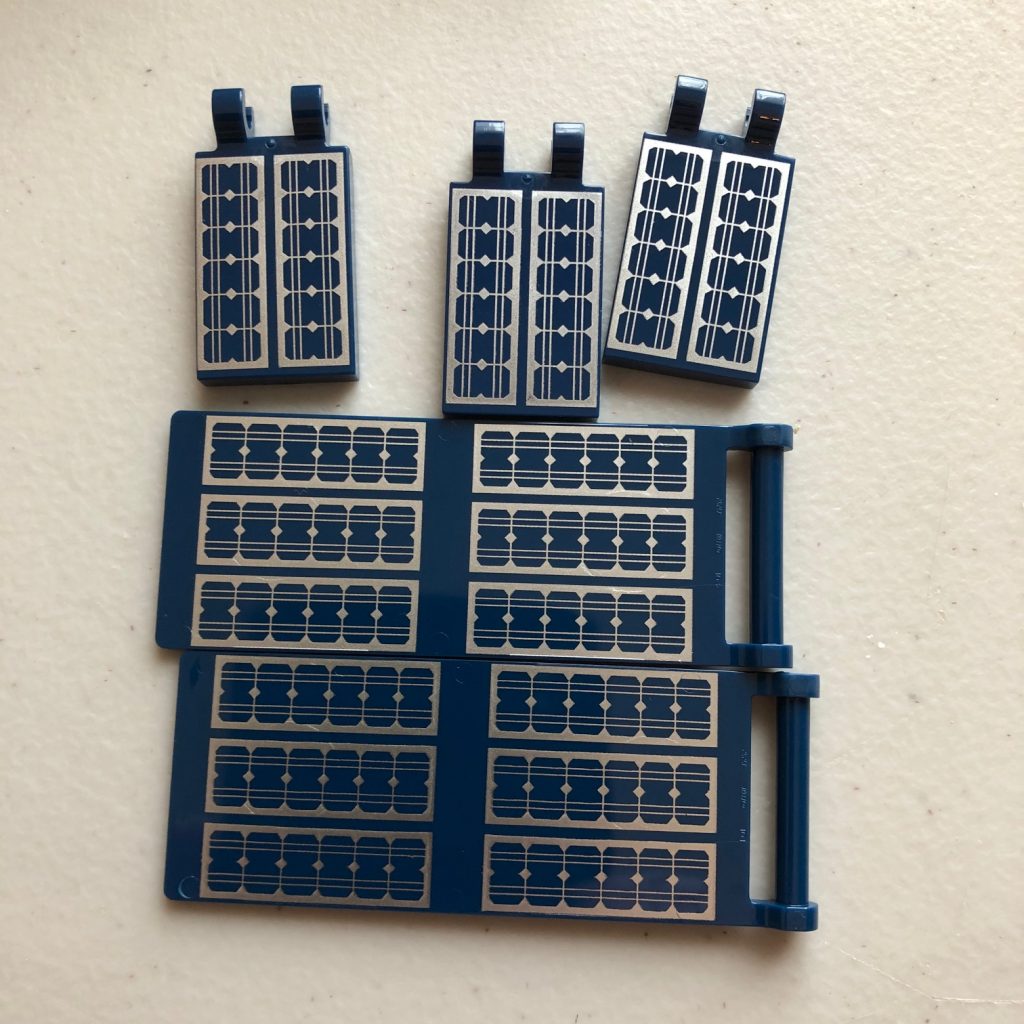
While the box suggests 16+, there’s nothing particularly fiddly in this so it could easily be attempted by 12+ or younger if you have a confident builder. What really impressed me was that this set did not contain any stickers. All of the custom parts were printed and when you get to the solar array you will be very thankful for this!
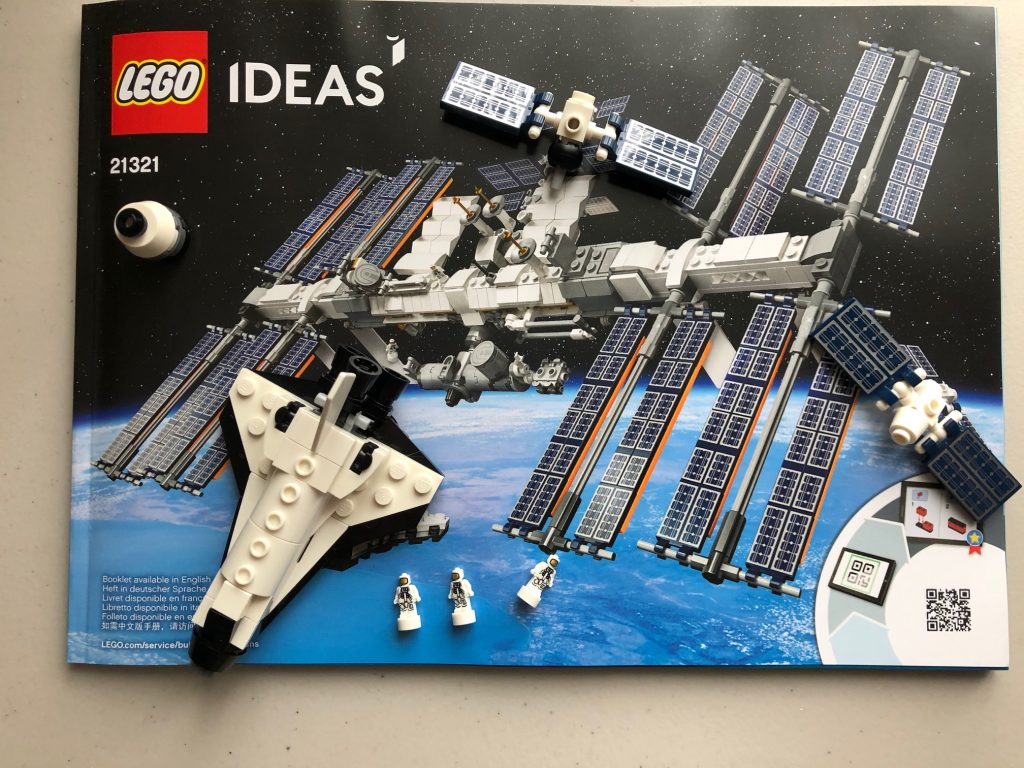
The instruction booklet didn’t have as much information about the space station as the Lunar lander had about its mission. While I know the history and watched it being built over the years, it would have been great to have more detail on the timelines and how the station was built up, with detail on some of the missions undertaken.
The first bag has the micro fig scale astronauts and the different means of docking with the station: space shuttle and 3 mini cargo spacecraft. These are nice and simple to put together and it’s great to have something playable after the first bag for children building this if they wanted to take a break.
The second bag is the stand, with a custom printed nameplate. Including a stand for this build is pretty essential and it does need to be sturdy. The Lego space station is double the width of the lander and some bits are quite delicate. While it doesn’t tell you to do this, at this stage, I found putting the different space craft and the astronauts on the stand after bag two helped keep them safely out of the way.
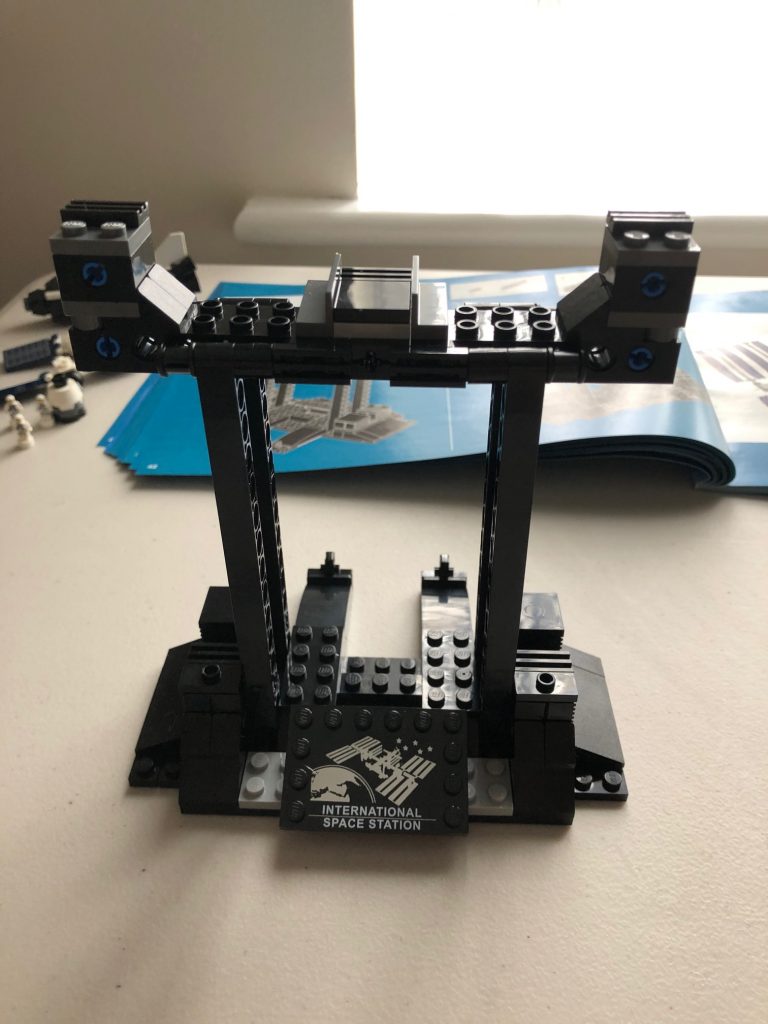
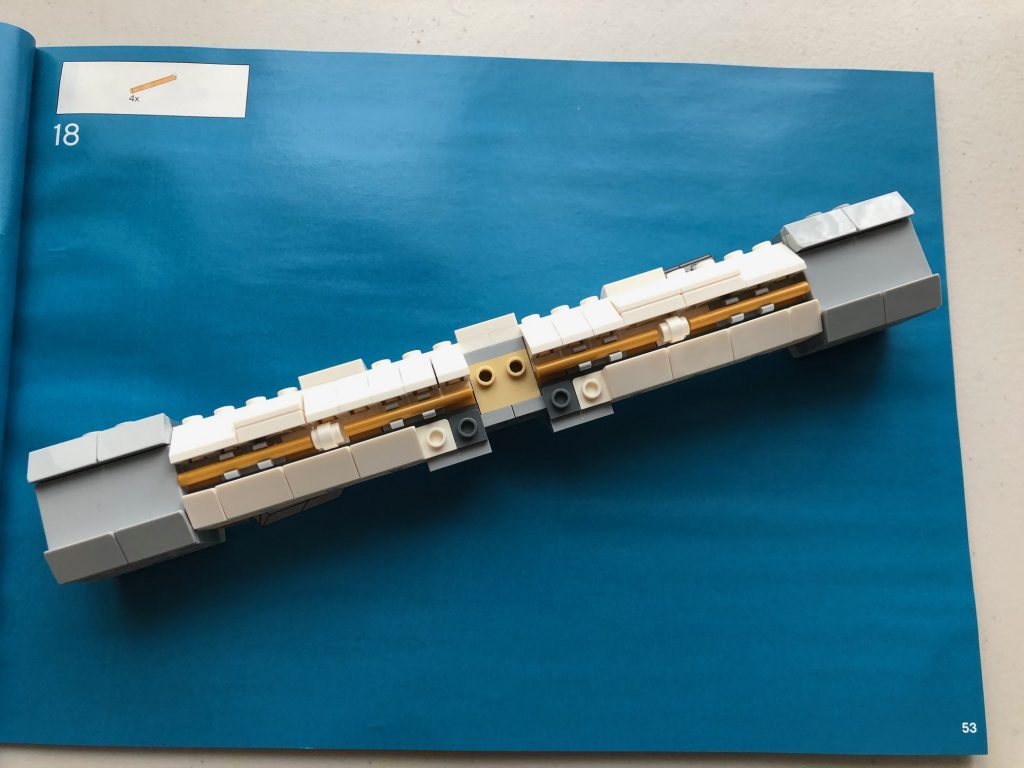
Bag 3 is the main core of the station. While they have tried to get a lot of detail into this, it feels overly complex for the end result with lots of small pieces. After building the stand, it would have been nice to create something more visual instead.
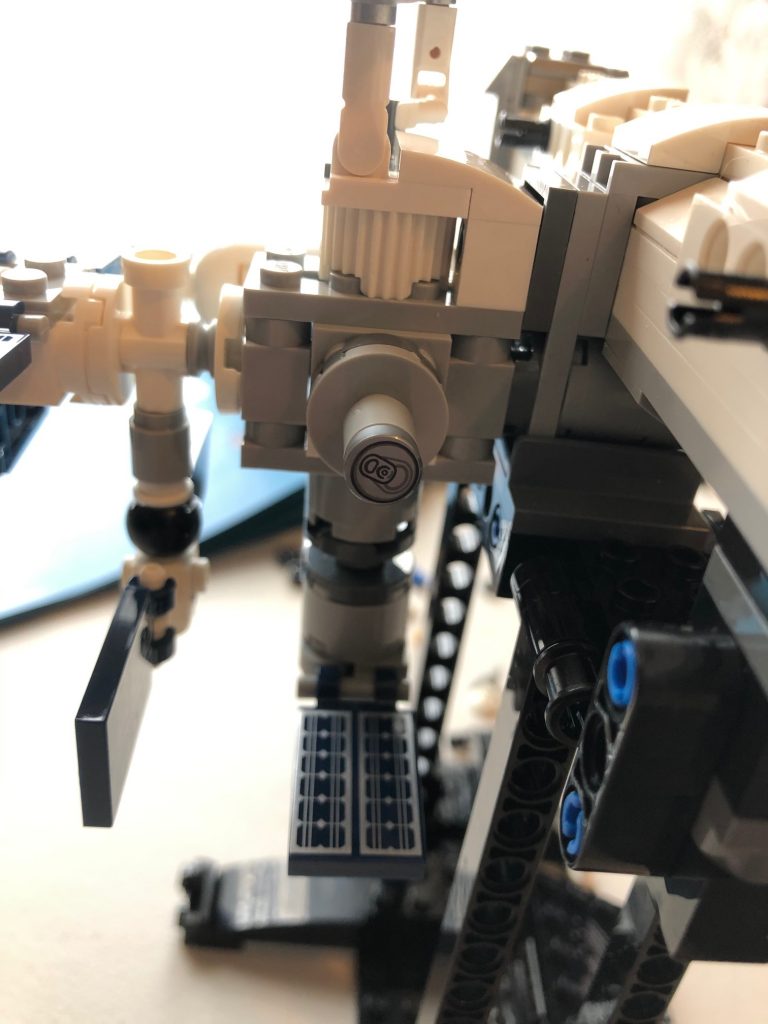
The fourth bag has the interesting “front” and “back” parts of the station including: the cupola (printed piece), solar panels, docking ports and air locks. I love how Lego reuse pieces as much as possible, including a drinks can lid as a microscale airlock. This section can be a little fiddly as you’re threading many components onto technic rods before attaching them to the main body of the station. At this point you also attach the station to its stand.
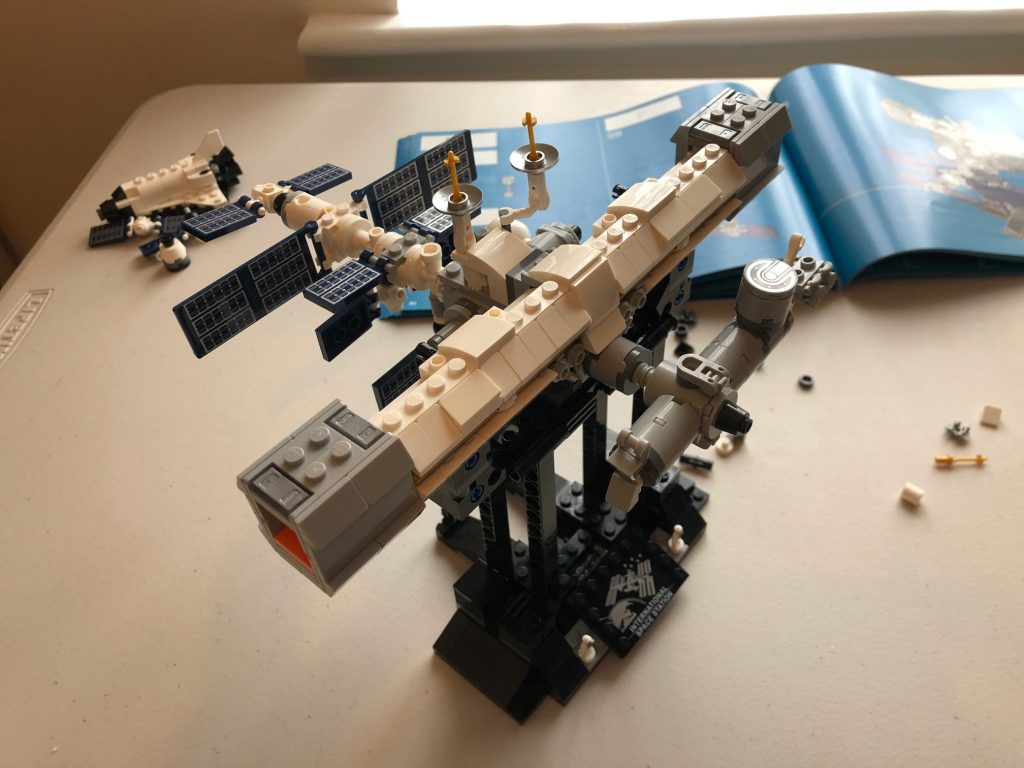
The penultimate bag adds a docking arm, extra satellite dishes and the support for the main solar array. This feels like it was split out just for the sake of evening out the bags and I immediately moved onto the last bag.
This final part is the solar arrays and is to do the same thing eight times. When I see sections like this I tend to build all the copies in parallel rather than one in full in then repeat it. There are lots of solar panel pieces. Take a moment to shudder at what it would have been like to apply those as stickers :). Adding the solar array is as easy as slotting them onto the supports and you can then adjust their angle to make it look how you’d like.
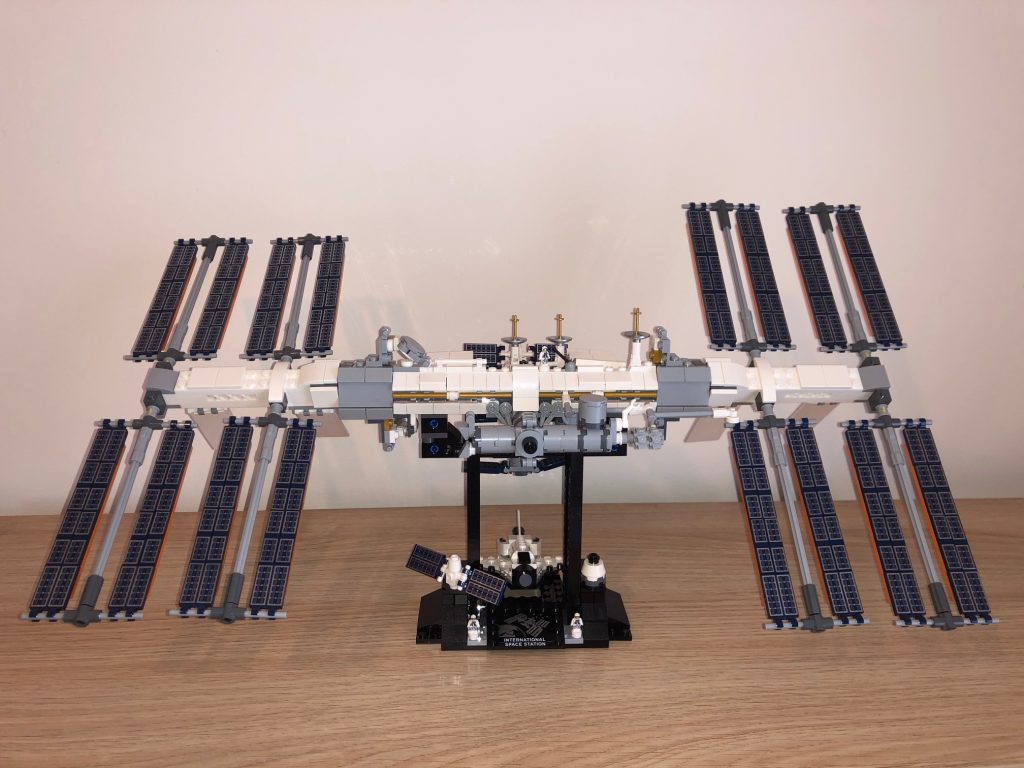
This is a fantastic display piece, which took about 3 hours to build. It’s now proudly appearing on a shelf behind me for all my work video calls. There’s very little playability with this set though so while a child may enjoy building it, they may get more long term enjoyment from the minifig scale city set lunar space station.
Overall, while I’m really happy with this set – if you had to choose between this and the lunar lander, I think the lander has the edge on the space station, purely for the extra details they managed to squeeze in.
- Particularly the retroreflector left behind to allow more accurate calculation of the distance of the moon from earth, which is hidden away in the side of the lander and not properly explained. ↩
- She writes looking at the UCS millennium falcon sitting unbuilt in the corner of the room… ↩