At the end of my last post in this series, we had completed the build. This post focuses on installation of the software and updating the firmware ready to print, from issues 65 and 76 of 3D Create and Print by Eaglemoss Technology. If you’ve skipped a part of this series you can start from the beginning, including details of the Vector 3 printer I’m building on my 3D printer page.
If you haven’t already done so, download the correct V3 software from the V3 website. While you’re there, also get the updated firmware for the Arduino board that powers the V3.
Install the software. If you’re on Windows, you will need to make sure that you have the .Net 3.5 framework. The installer does not give you the option of installing this directly and will just fail. You can get it from here. The V3 software installer is very easy once you have .Net 3.5 and will put a shortcut on your desktop.
Before you run the software, connect your printer to the computer with the USB cable and power it on. Windows will either respond by recognising the device or not. You can check this by opening Device Manager. If it is unrecognised you’ll get a little warning symbol and “Unrecognised device” in the “Universal Serial Bus controllers” section near the button. If it is recognised then you’ll see a COM port section and if you expand this you’ll see which COM port the printer is on. If this happens then great, if not then there are a few things to try.
-
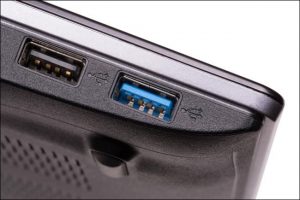
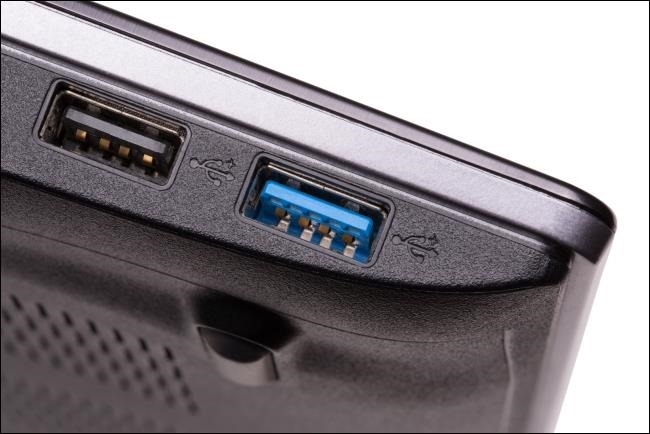
The USB2 is on the left and the blue port on the right is USB3 There are reports1 that the printer does not play well with USB3 ports, or USB hubs. Try another USB port. USB3 ports are blue, so avoid those.
- If, after trying all your USB2 ports, your printer is still not recognised, you may need to install the FTDI drivers separately. Disconnect and switch off the printer. Get the new drivers from http://www.ftdichip.com/Drivers/D2XX.htm making sure you down load the executable. Run the files as Administrator. Reboot your computer and reconnect the printer and try again.
- There are also reports of printers just not working on certain PCs2. So you may need to try an alternate machine. My Dell laptop refused all attempts to connect3, but the same process on my surface worked fine.
- You may also want to try compatibility mode with Windows 7 – I haven’t verified this myself.
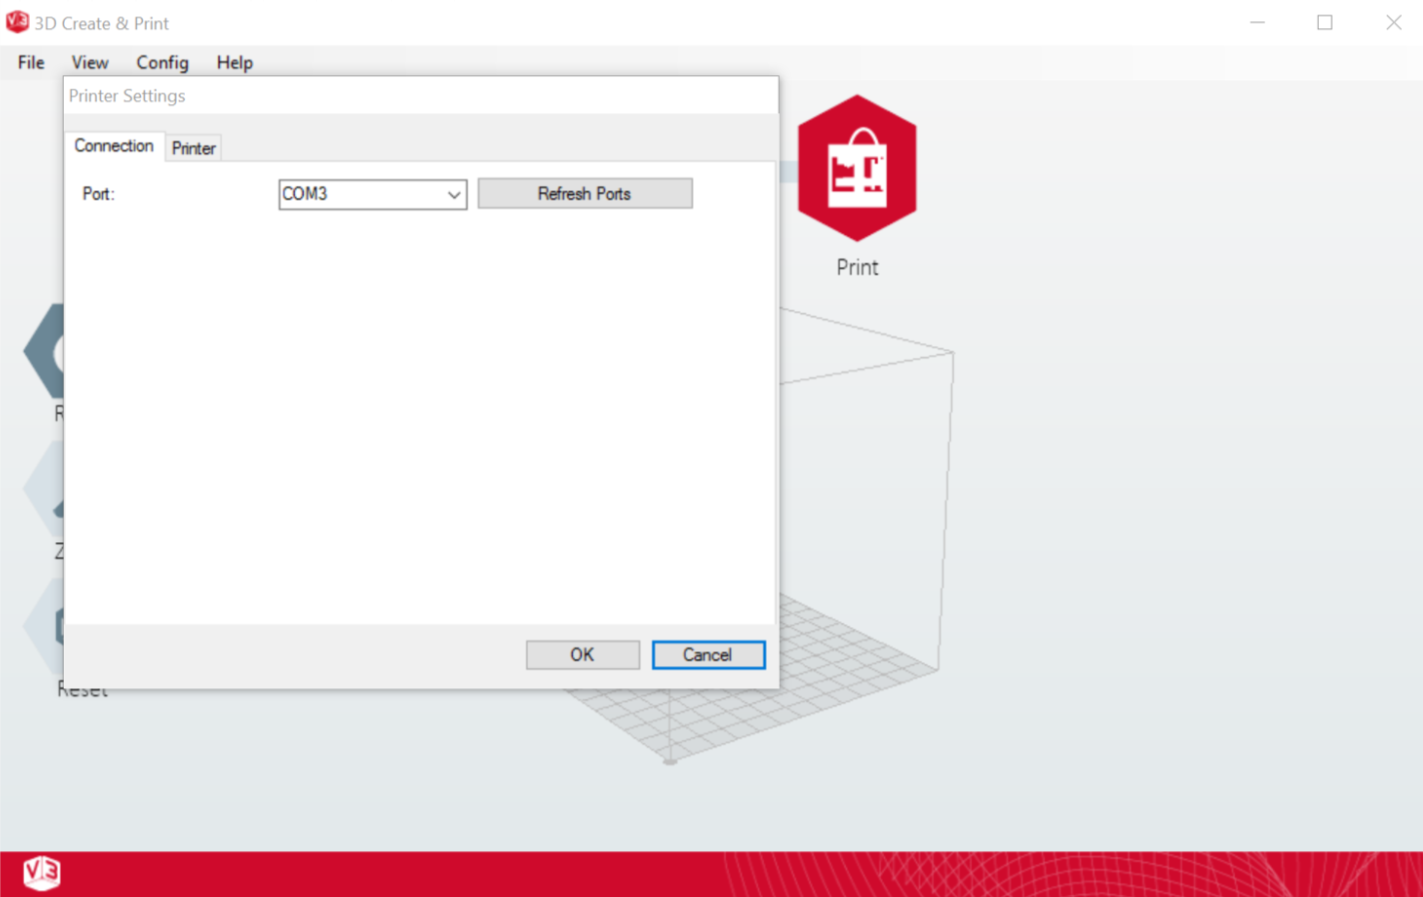
So now you should have the computer talking to the printer. Connect the printer and turn it on. Time to start up the V3 software. This must be run as Administrator. On Windows4, this is Ctrl-Shift-RightClick and then select “Run as Administrator”. Go to Config -> Printer Settings. Select the correct COM port and click OK. You may need to refresh the ports if the one for your printer isn’t shown. If no ports are shown, go back to device manager and ensure that your computer has correctly recognised the printer.
Then go into Calibration set up and hit connect. You should get a connection although don’t calibrate just yet as you need to update the firmware.
Exit out of the V3 software and reboot your machine to ensure that there are no connections to the printer. You have two options to update the firmware. The way in the magazine uses a very outdated version of the updater and source files for the code. You may not feel comfortable doing this, or it may not work for you. I consider myself to be a resourceful IT professional and a pretty good coder in multiple languages, but I could not get the updater from the V3 website to work for me using the instructions form issue 76. Thankfully, a member of the V3 community has rewritten it, so if you’re struggling you can get a simplified and working version from the forum5 The updater is very easy. Run “Load_Stock” and when prompted enter the COM port e.g. COM3 and the batch file will do the rest.
I was about to go back into the V3 software to do the calibration and my first test print when there was a muffled pop, a hiss and a vast amount of smoke started coming out of the printer. I quickly unplugged and disconnected everything. It will be a considerable amount of maintenance to get to the base of the unit to determine what happened. At present, my hypotheses are: the fan, the PSU or the Arduino board itself has blown. Until I can get in with a multi-metre and/or see the obvious damaged part, I’m not sure what will need to be replaced. I will definitely need to be in touch with Eaglemoss, and I will let you know the outcome.
However, for now, one of my cats is determined to prevent me from investigating any further…
- This was after some considerable googling, so far too many links to report here. ↩
- E.g. https://forum.arduino.cc/index.php?topic=411025.0#/? where everything works fine on the same OS for a friend ↩
- Which is annoying as I had been downloading all the stl files from the magazines to that laptop… ↩
- Sorry to any of you using a Mac! ↩
- Many thanks to Paul on the forum for putting this together. ↩