At the end of my last post in this series, we had added the rear hood. This post focuses on the hood frame and lifting mechanism, covering issues 85-90 of 3D Create and Print by Eaglemoss Technology. If you’ve skipped a part of this series you can start from the beginning, including details of the Vector 3 printer I’m building on my 3D printer page. You will also need the parts from issue 78 that you should have kept safe…
-

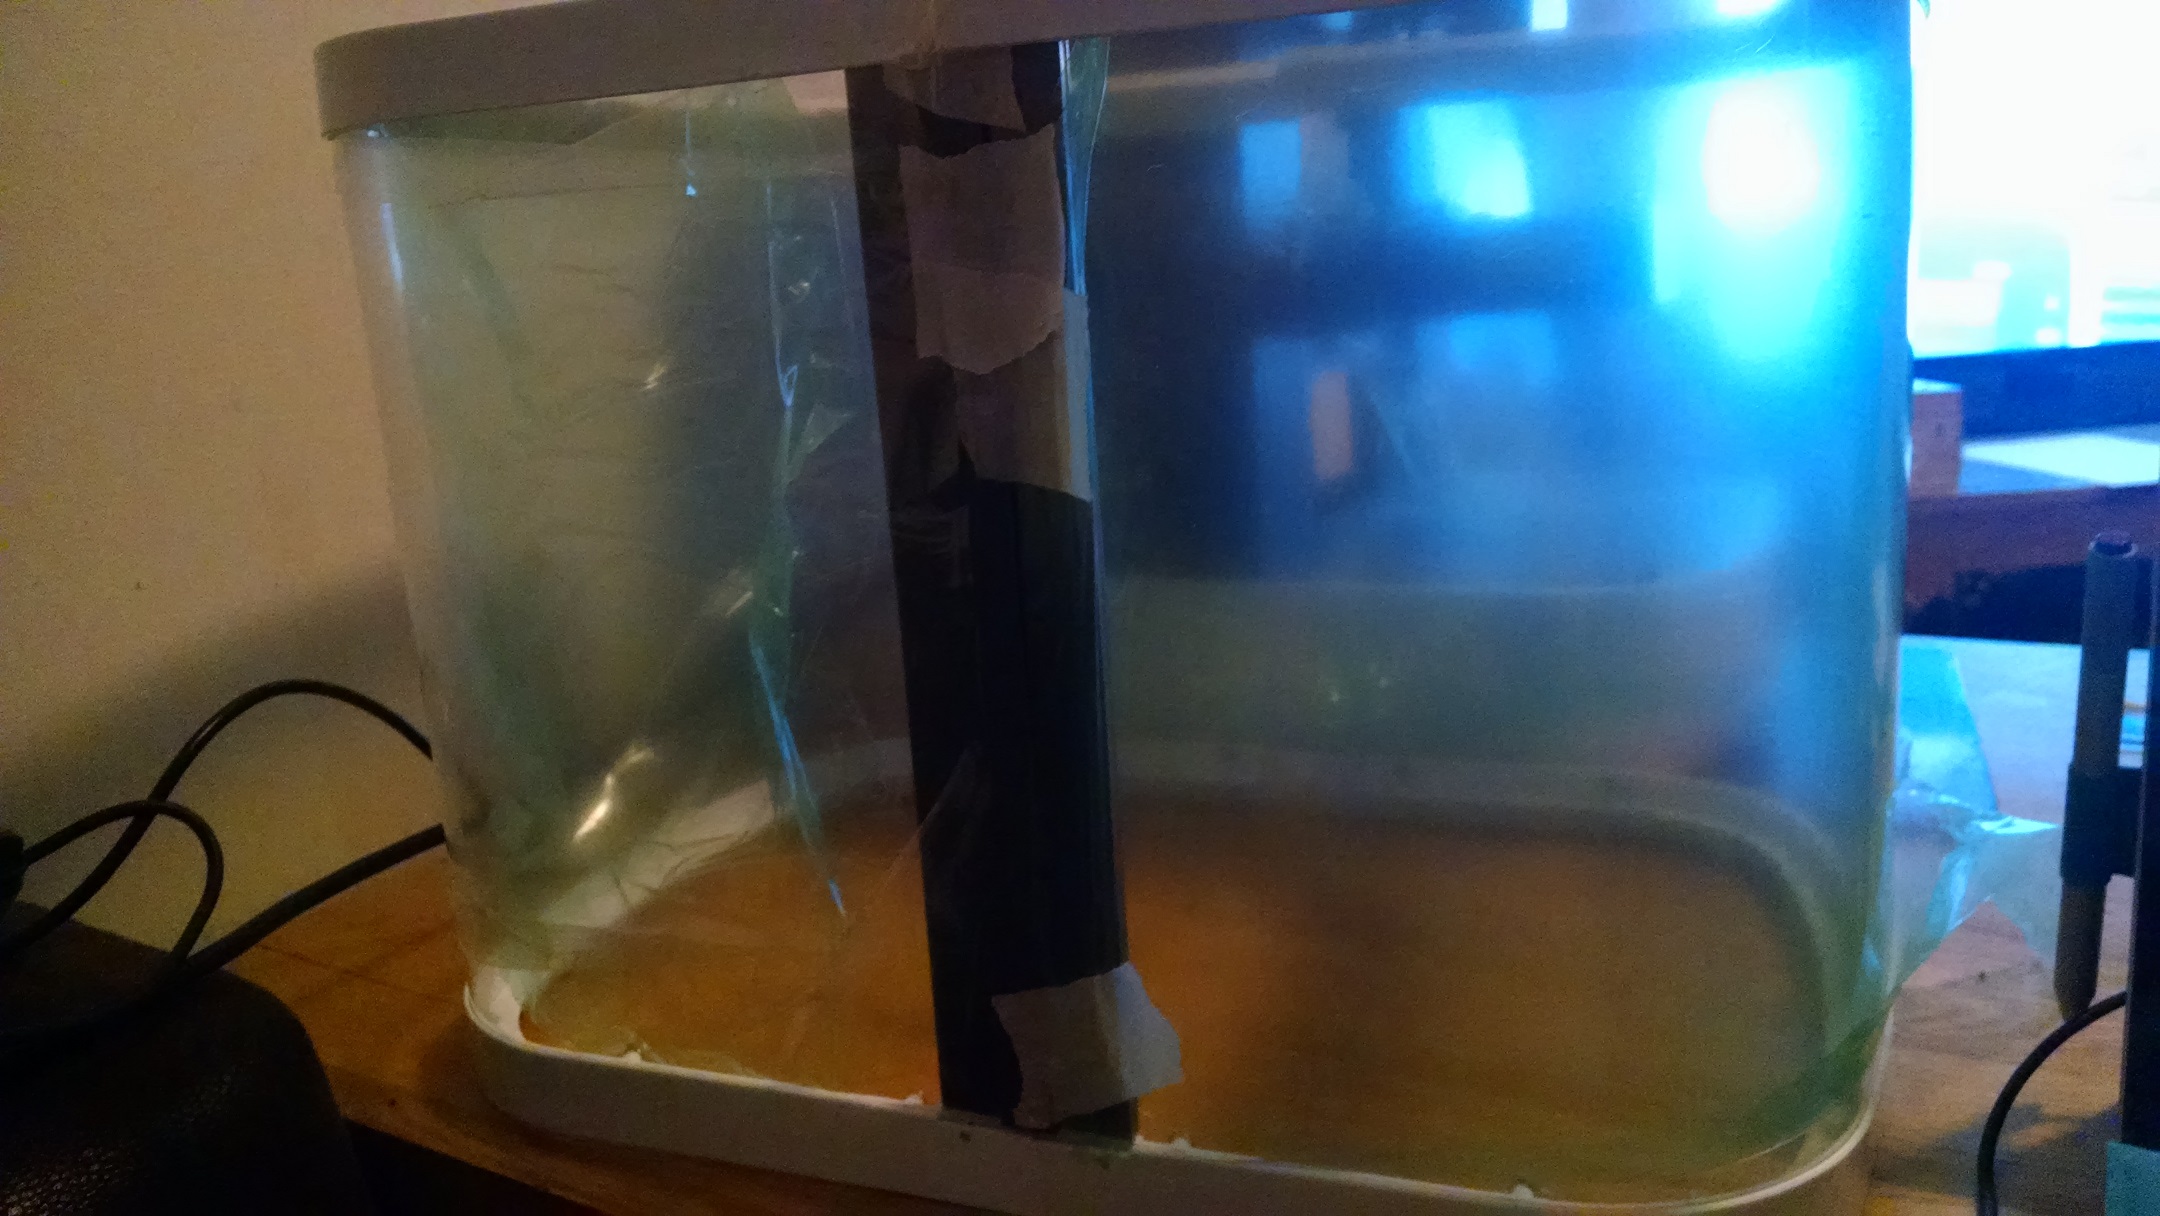
Left and right frame fitted Left Frame: Using the parts from issues 85 and 87 the first part is to create the hood frame. Remove the front and rear hoods from the printer. Using the outer left frame (issue 85) slot the left side of the front and rear frames into it. I found this very fiddly – the outer frame kept sliding out, so I used masking tape to hold it in place while I fitted the inner left frame. Also, ensure that both are the correct way up – they only fit one way. Add the inner left frame from issue 87 ensuring the screw holes align and fix securely with the washer headed screws.
- Right Frame: using the parts from issues 86 and 88 fit the right side of the hood frame. This is slightly trickier as the left side is already fixed. However, using more masking tape I managed without needed extra pairs of hands!
-

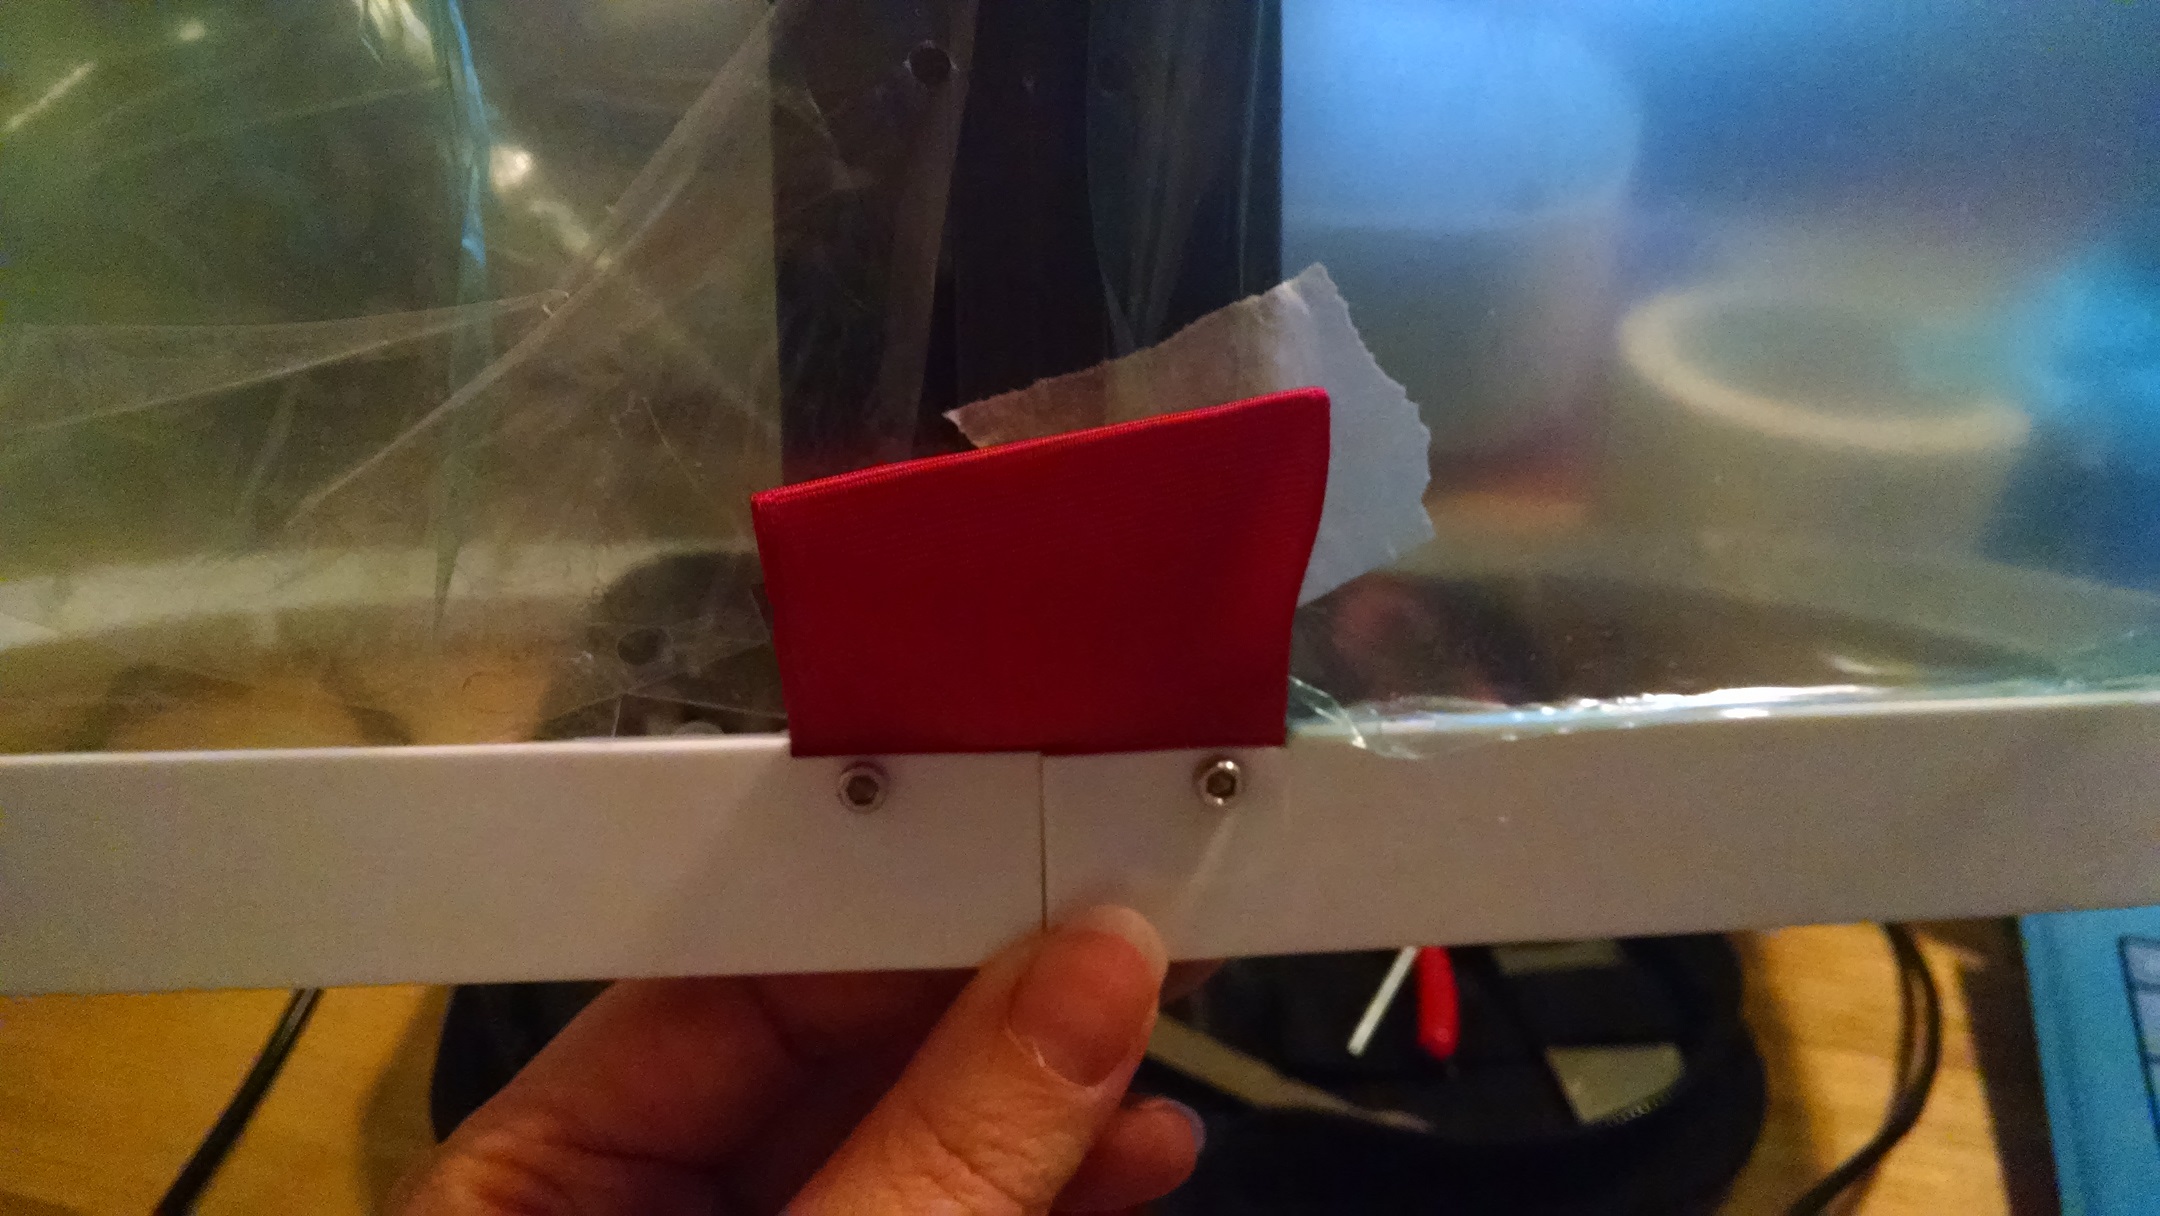
Hood tabs added Hood Tabs: Using the parts from issue 78, add the fabric tabs. Slide the hardened end of the tab into the slot with the holes at the bottom of the frame. I found that the holes weren’t fully aligned at this point, but since everything else had fitted together well, I didn’t feel like unscrewing everything else to see what the problem was, so I made new holes with a circular needle file. Once this was done, I added the bolts and secured with the nuts.
-

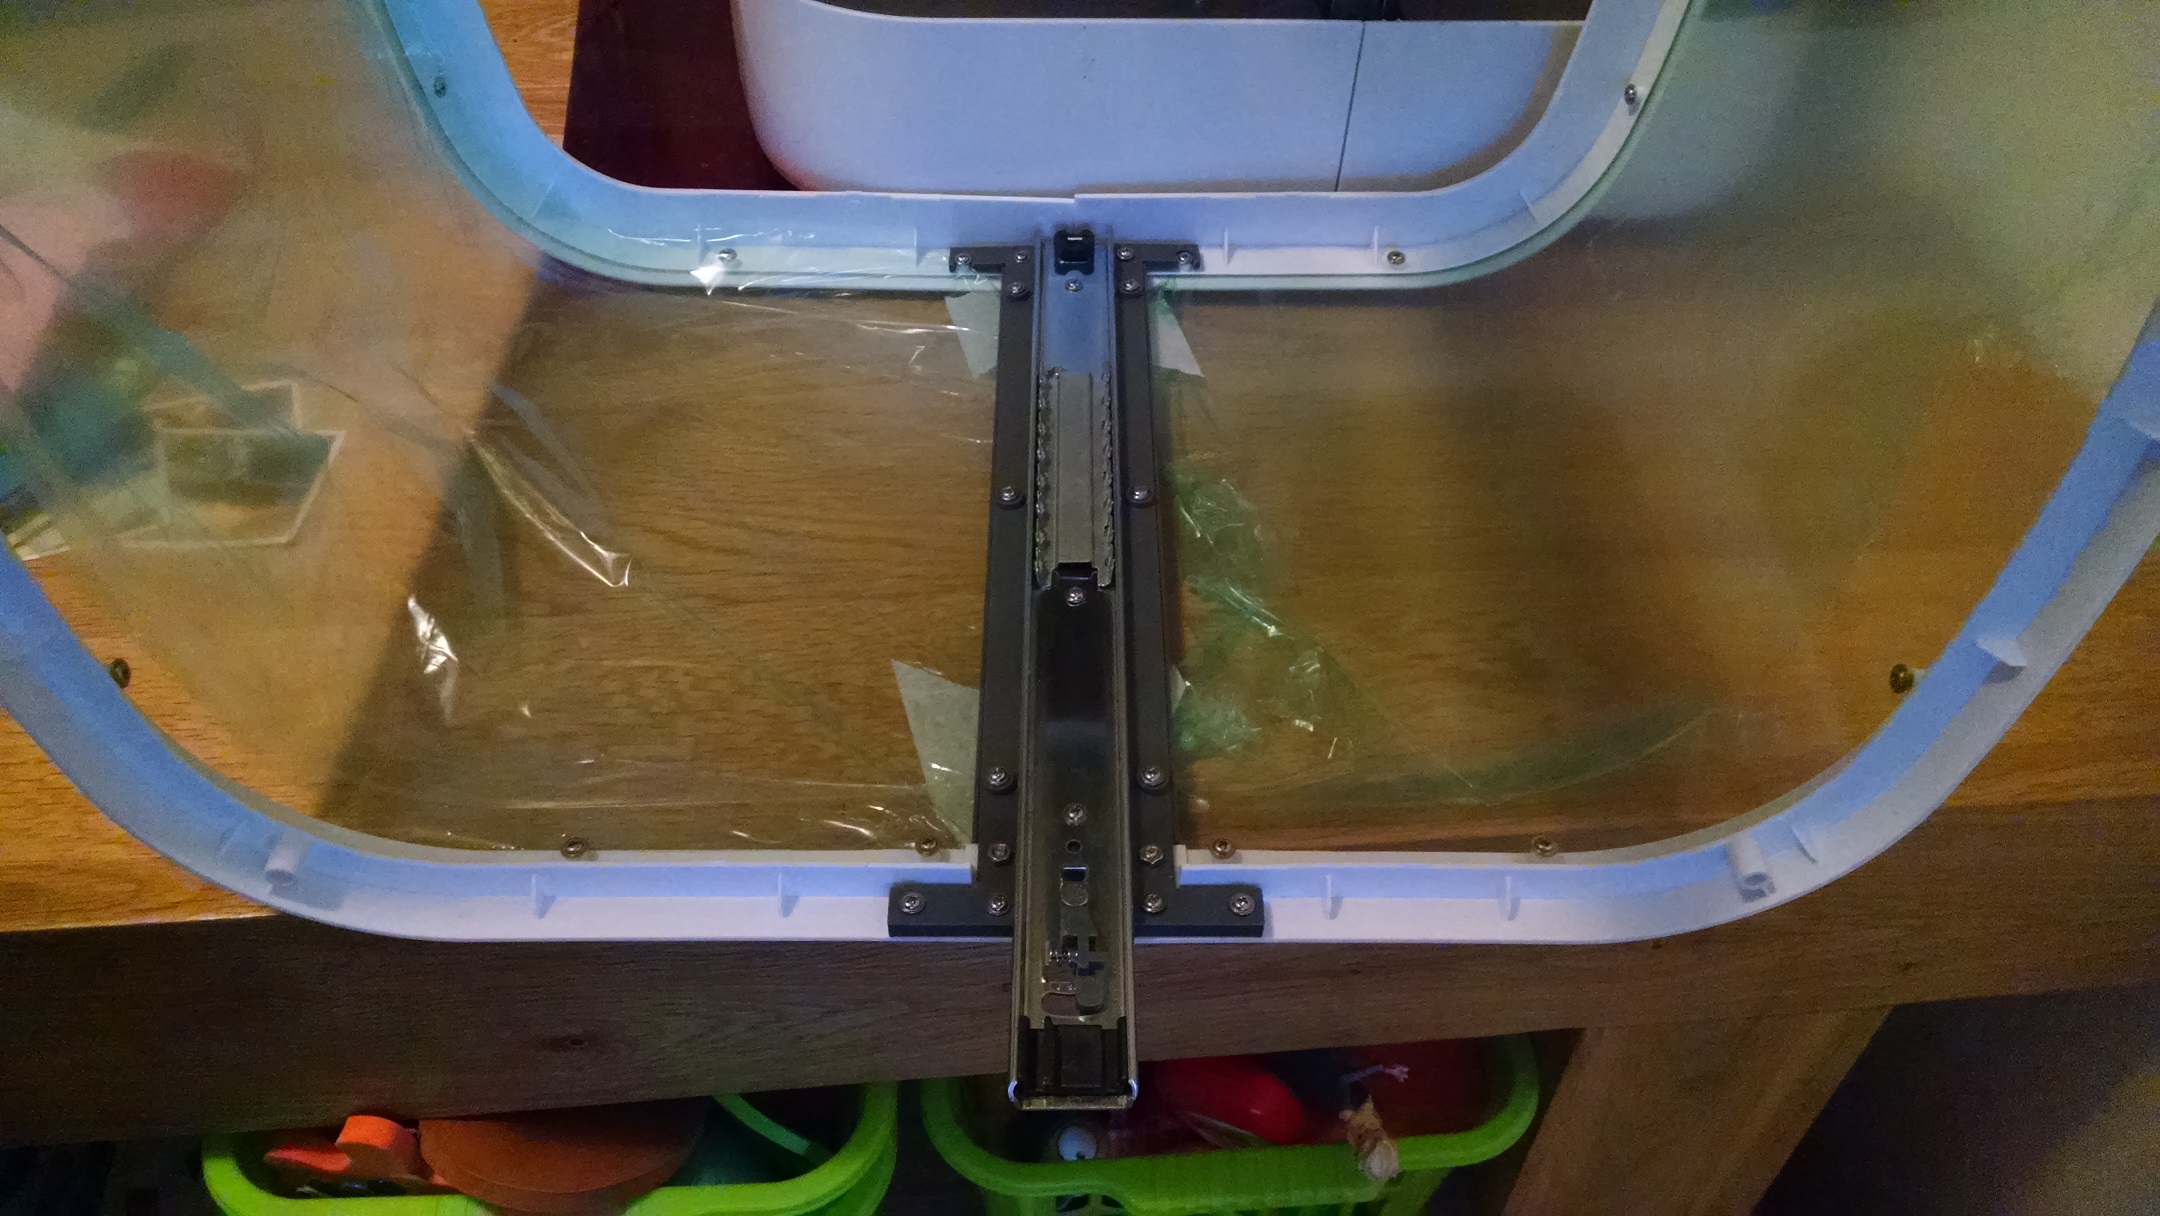
inner lifting mechanism 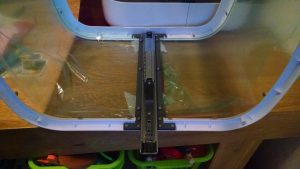
outer lifting mechanism Lifting mechanism: Issues 89 and 90 come with the left and right lifting mechanism for the hood. Firstly separate the two parts of the lifting mechanism and attach the outer lifting mechanism to the hood and the inner lifting mechanism to the printer. Do both the left and right sides. Carefully lower the hood over the printer to reassemble the lifting mechanism.

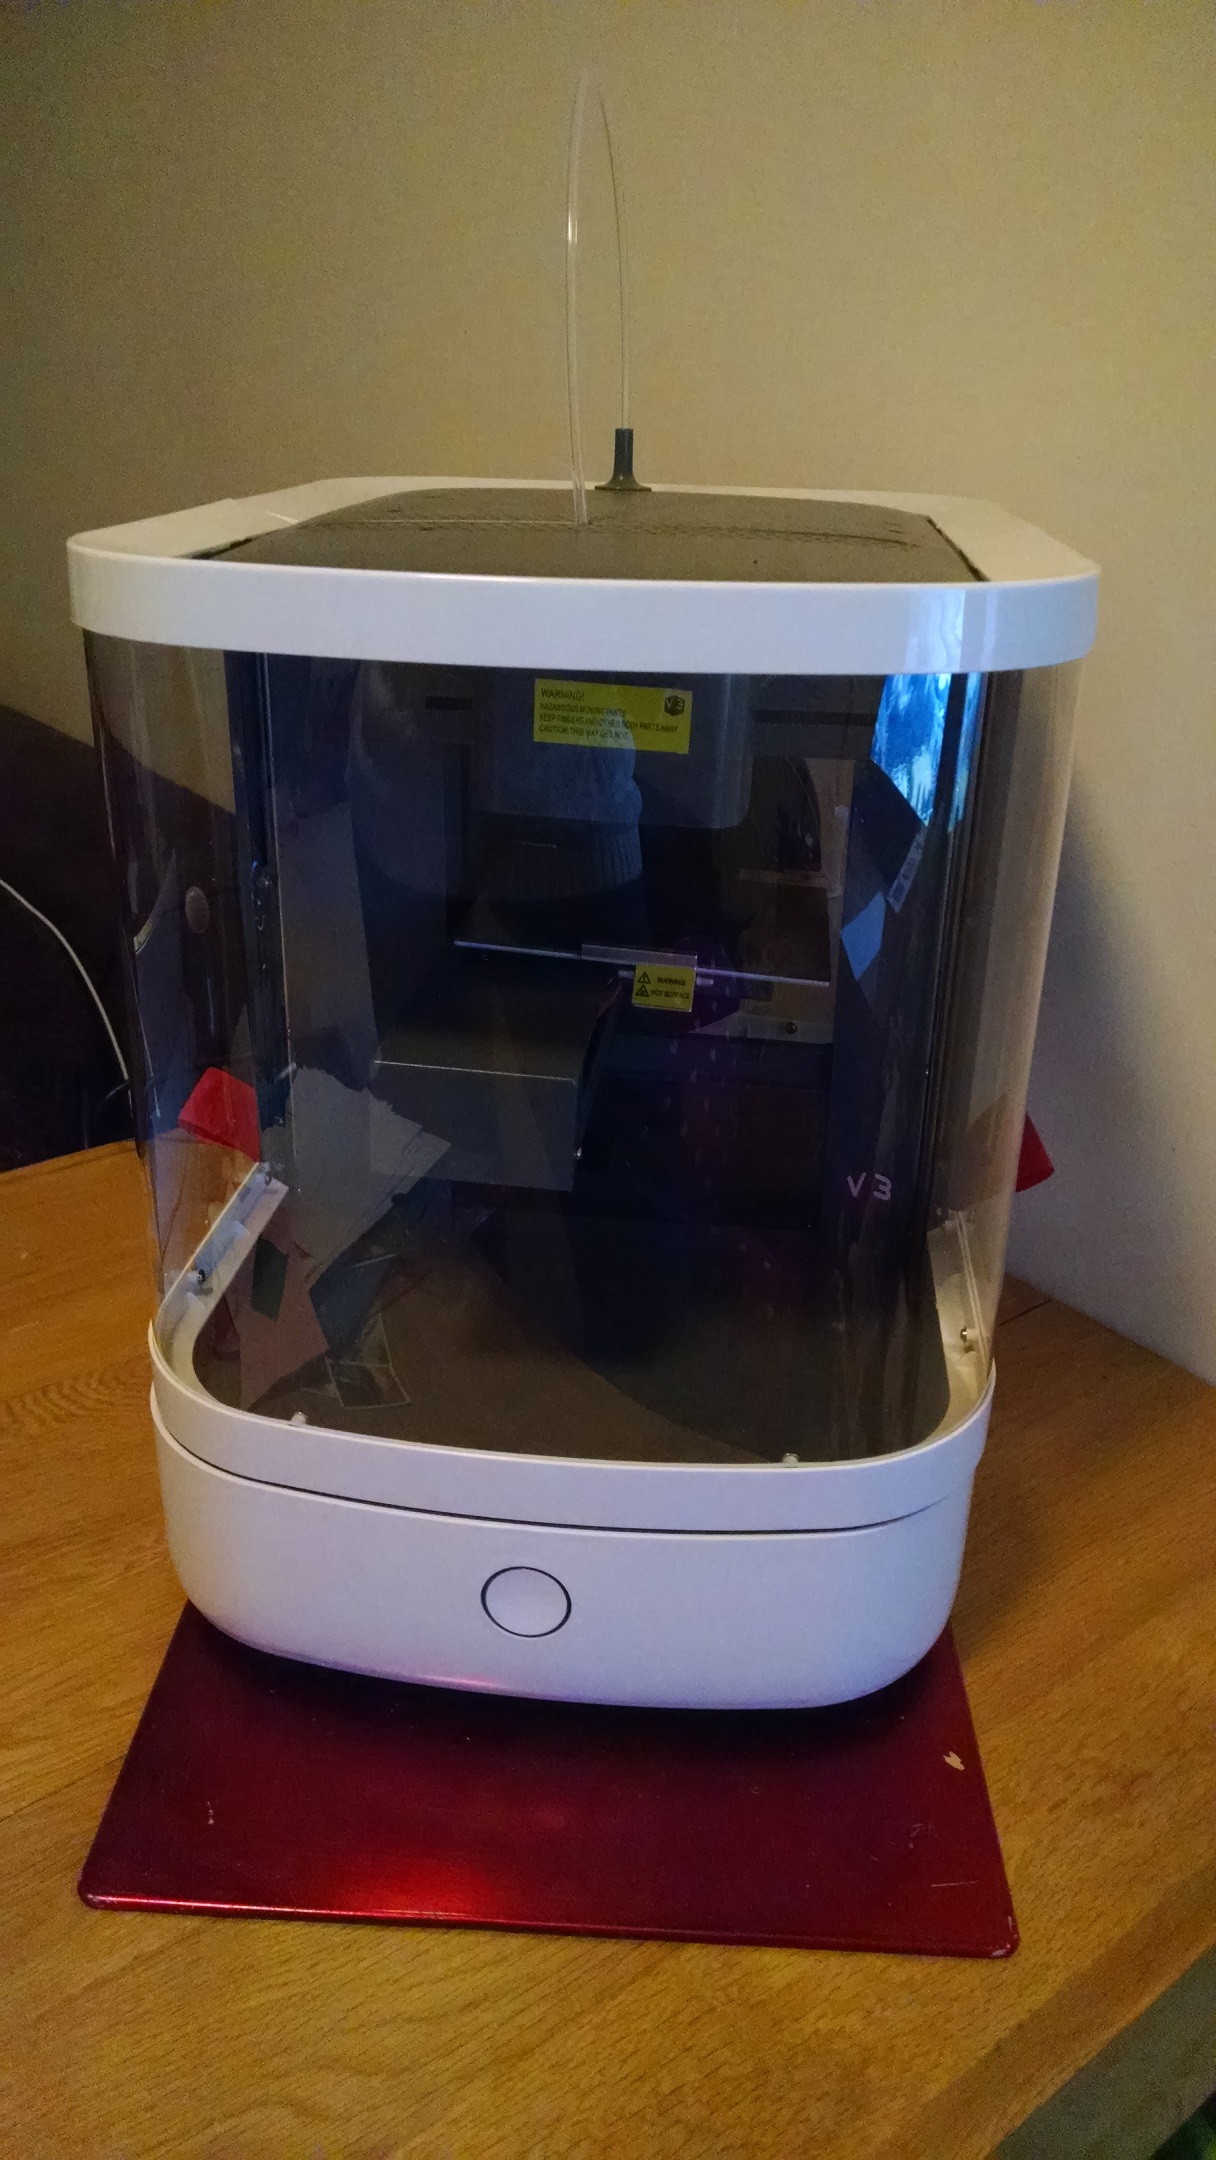
Congratulations! You have now completed the main build for the V3. In the next post I’ll go through setting up and first prints. At this point, you can continue past issue 90 to get accessories for your printer. I’ll be doing this and will outline what comes with the issues as they arrive.