At the end of my last post in this series, we had constructed the print head assembly (and replaced some sub standard parts). This post focuses on the print guard and filament spool, covering issues 72 – 75 of 3D Create and Print by Eaglemoss Technology. If you’ve skipped a part of this series you can start from the beginning, including details of the Vector 3 printer I’m building on my 3D printer page.
-
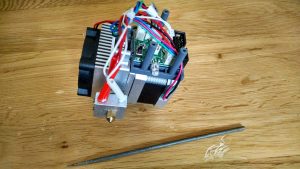
Print head heater and my needle file that solved the problem Print head heater: Issue 72 comes with the heater for the print head. At first this appeared to be a simple “slot it in and plug the wires into the circuit board”. However, the tube in the print head heater block was not smoothly milled and I found that the heater got stuck halfway. After a bit of rummaging around in the garage I found my needle files1 and used a circular file to remove the offending ridge. I was conscious not to file too much away as I knew the heater still required a fairly snug fit. Then it was a case of tightening the grub screws and plugging the heater wires into socket J2. Finally, I tidied up the wires with the cable tie.
-

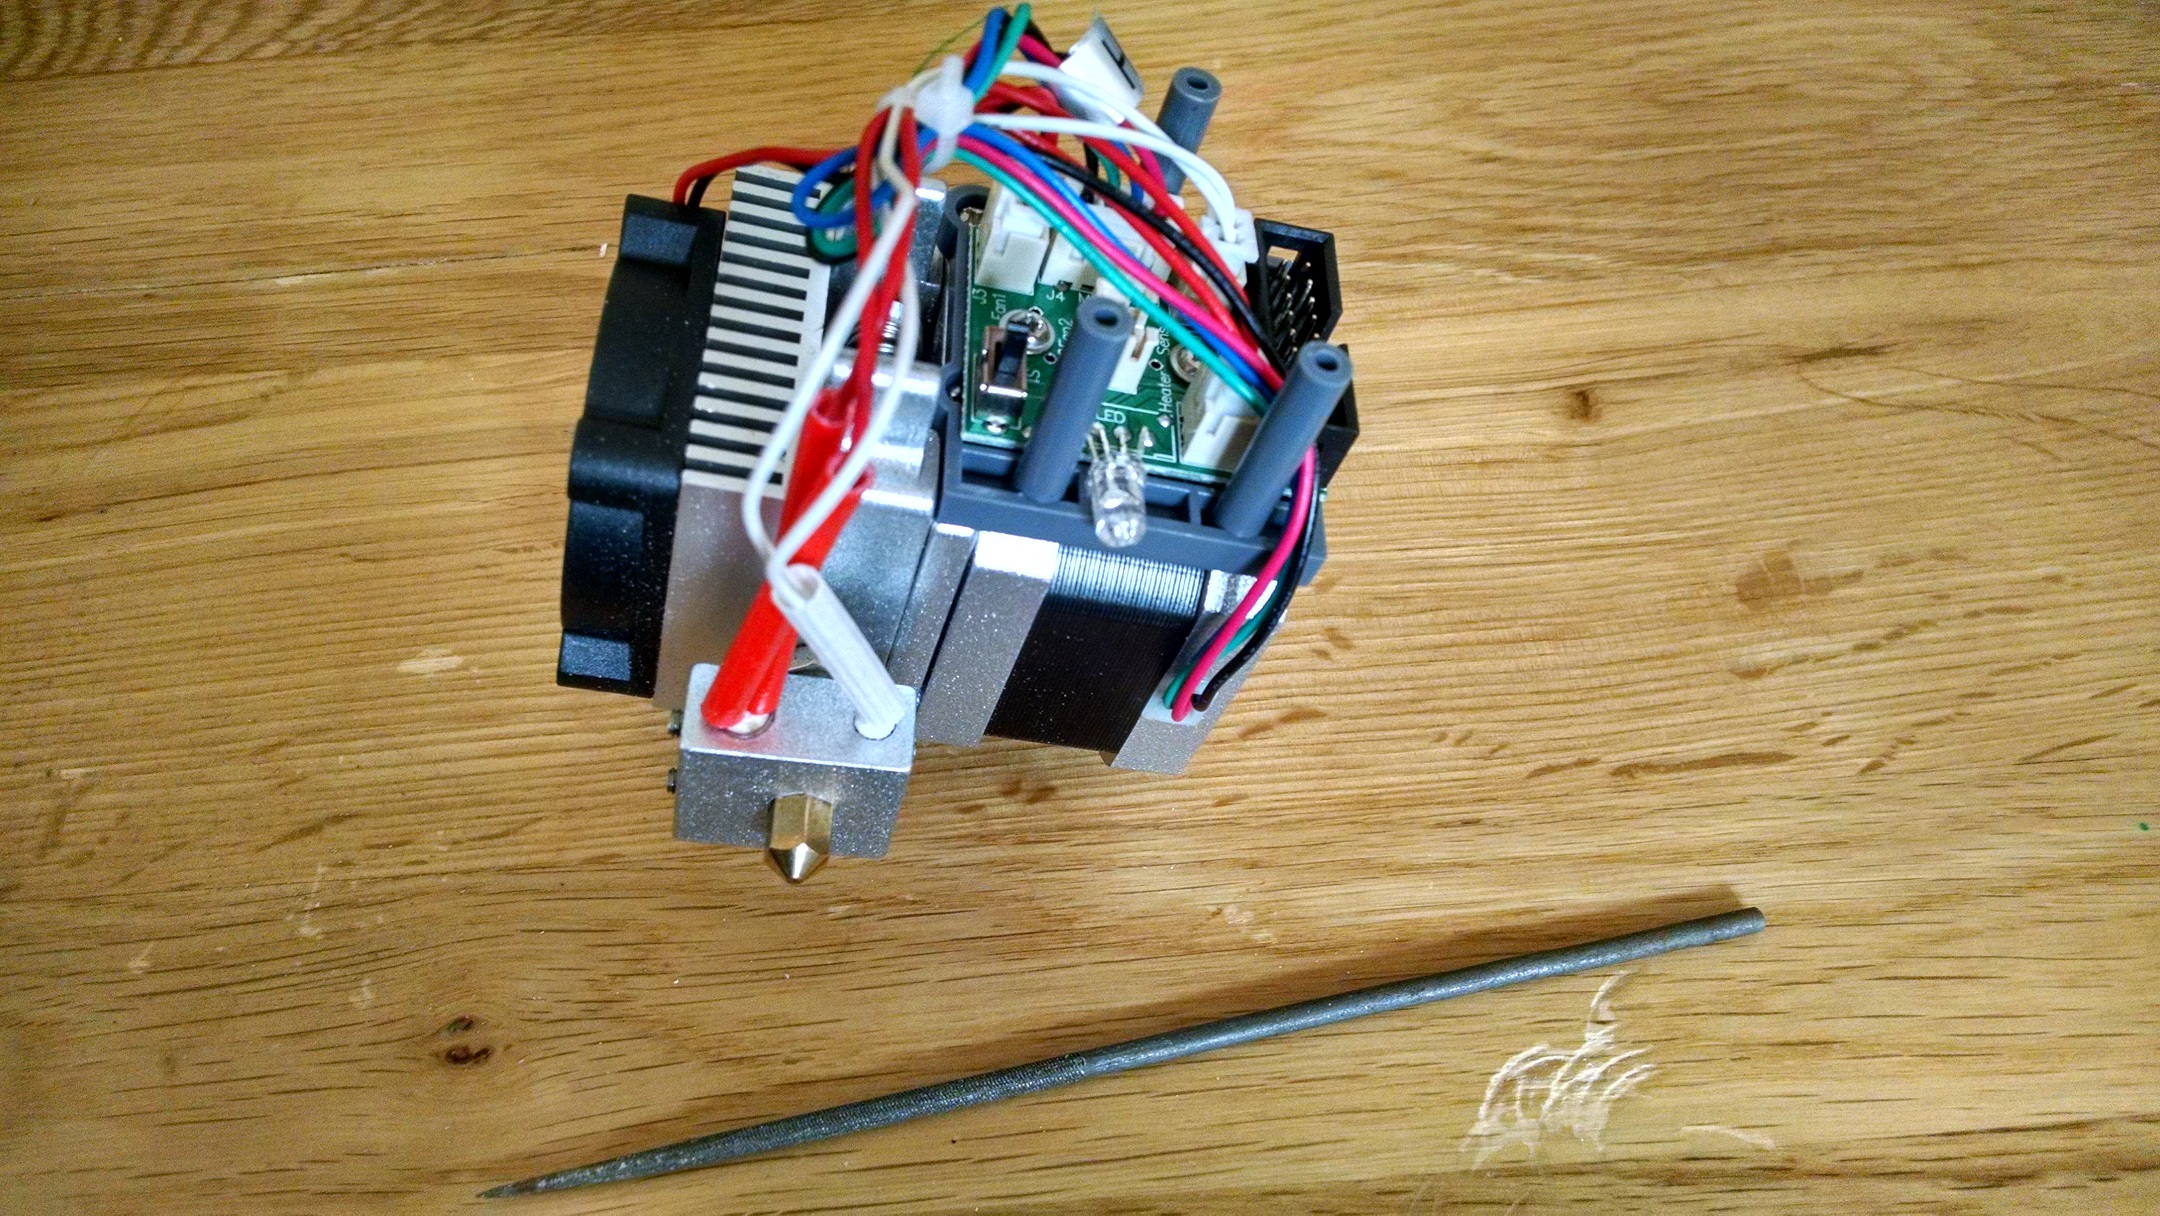
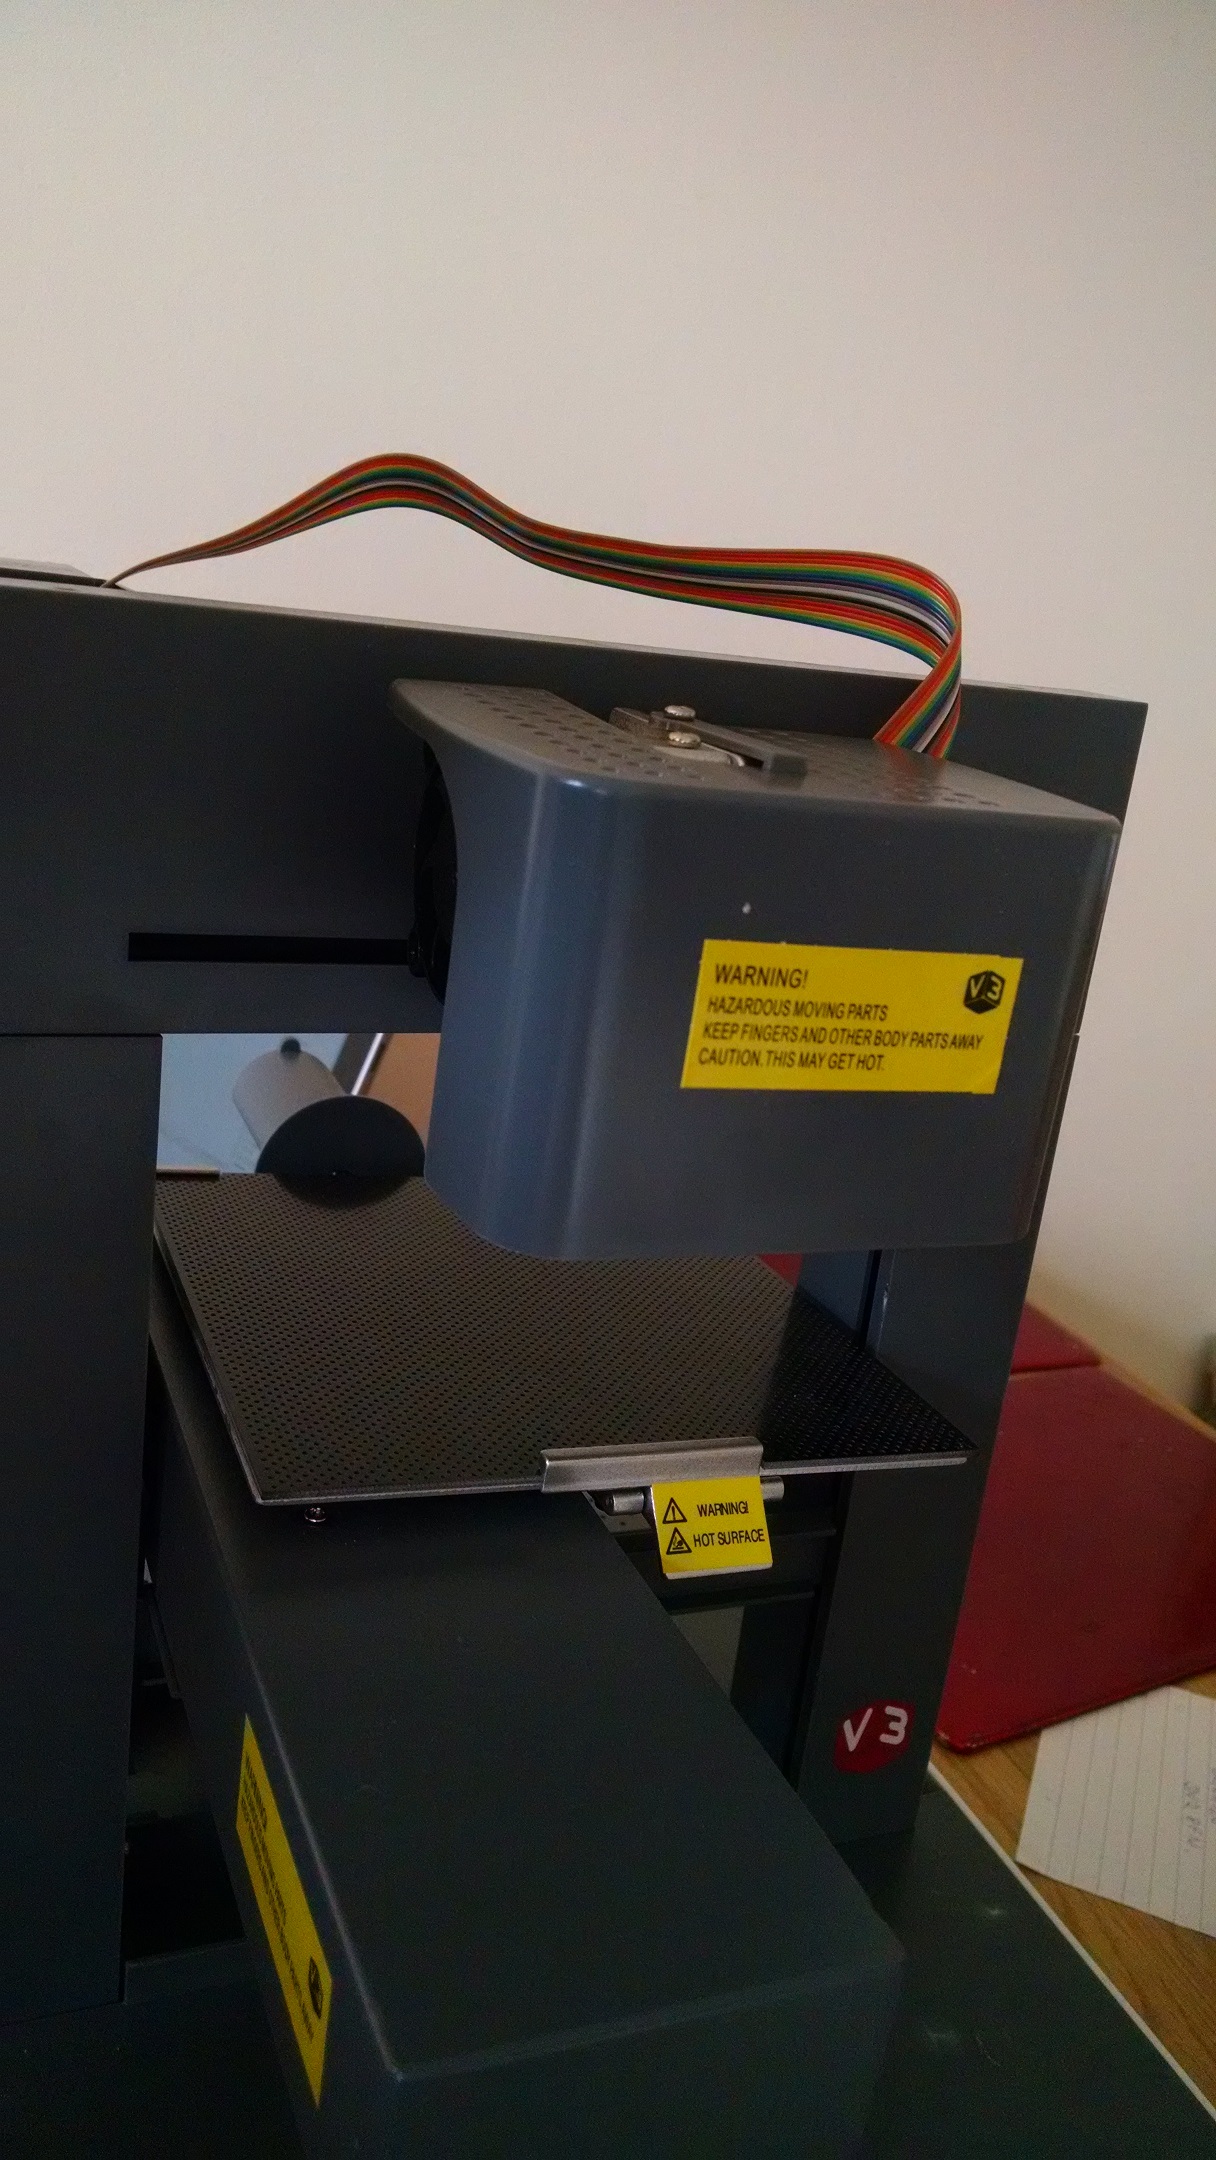
Print guard and heater attached to main frame Print guard: Issue 73 comes with the guard for the print head and the bolts to fix it to the main frame. Add the washers to each of the longer bolts. Engage the print head assembly to the bracket that protrudes from the main frame, ensuring that the pin from the print head connects with the cut out. Engage the two bolts by hand so they hold the assembly in place, then use the allen key to tighten. Plug in the ribbon cable and slide the print guard over the print head assembly, ensuring that the sockets engage with the print guard. Secure with the bolt on the top.
-
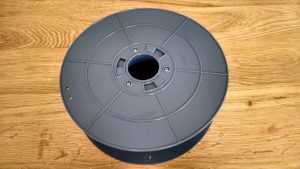
Filament spool ready for filament Filament spool: Issue 74 comes with the filament spool and is nice and simple to put together – the two sides fit to the core with a simple lock and twist and then three screws hold the sides in place. Each of the filament spool sides has a smooth side and a pattened side – the smooth side goes to the inside. The two small holes in the sides are a red herring – you can’t get them to line up so don’t waste time trying. With the filament spool over the roller holder, the printer is now ready to prime with filament ready for a first test print.
- Filament: Issue 75 comes with some red pva filament and instructions on how to attach it to the filament spool. However, since we do not yet have the means to feed the filament into the print head and it is recommended to keep the filament airtight until it is ready to be used, I’m calling it a day here.

So the next few issues will cover the safety cover and calibration for the first print – I’m going to need to dig out my spirit level to make sure the build plate is truly level!
- From my metal miniature days 🙂 ↩